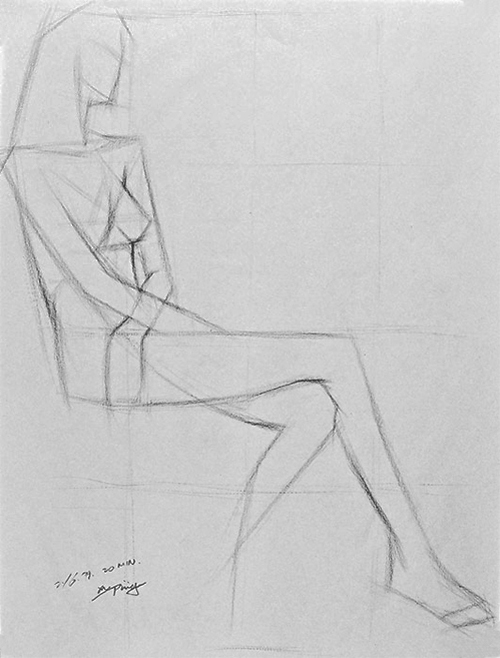
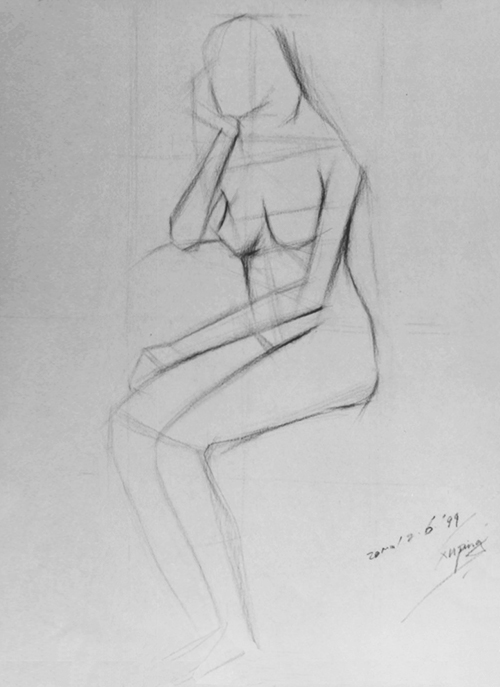
- Hold the pencil far from its tip, sometimes using the little or ring finger against drawing paper/board to support the hand.
- Start the drawing with light, long straight lines; go for simple and big shape only.
- Carefully find center line of the head and torso as well as the lines connecting
the symmetrical body parts, such as shoulders and hips. - After using light lines to indicate the simple shapes with general proportions,
start all over again to develop more accurate forms. - Do not miss overlapped form edges which help develop a three-dimensional quality to the figure.
- Drawing through body parts with ovals suggests ellipses, which are part of the underlying structure. Adding center lines in the torso suggests the center axis and planar changes.
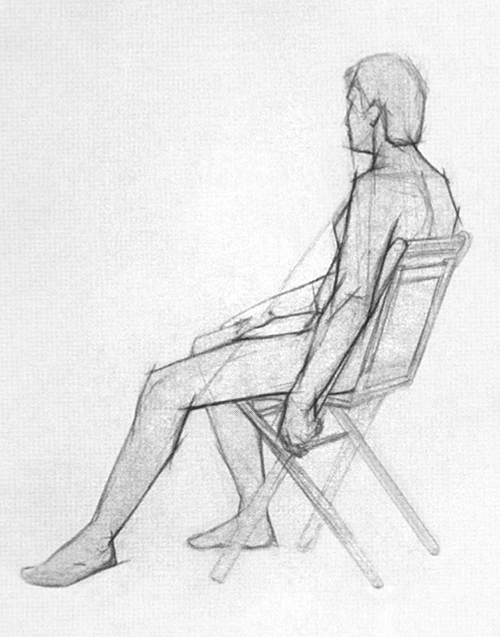
- Begin going over the drawing for a third time. This time, the lines you place
should “cut out” smaller, more complex shapes and planes. - Still keep your lines generally straight to suggest structure more effectively.
- Define details; connect lines in a smooth way.
- Some of the straight lines turn curvy form.
- Adjust structural forms before going to the next step-rendering light and shadow.
- Some major shadow patterns should be drawn as the beginning of the rendering.
- Notice how the shadow edges (core shadow) were established with soft edges.
(Drawing core shadows helps suggest the 3D roundness of forms)
Example: Figure Drawing Using Line


