Typography is a very critical skill for graphic designers. Along with use of space and color, typography is one of the most important facets of communication design. In this post, we will go through some demonstrations about setting document and working with type within Adobe InDesign CS6.
1. Setting up your booklet project document in Adobe InDesign CS6

2. Getting two more Facing Pages in Page panel
3. Creating a grid for two facing pages: Layout > Create Guides

4. Saving 2 facing pages as new Master Page / drag the new master page to add pages

5. Placing Images and Background:
– Press F key to select the Rectangle Frame Tool: File > Place (Cmd D)
6. Creating Body Copy text and autoflow the text: Shift + Click the blank text box

7. Adding the text frames new columns: Cmd B, and
setting a new Paragraph Style for the body copy text.

8. Setting a new Paragraph Style for Heading.
9. Setting up a Baseline Grid

10. Showing Baseline Grid: View > Grids & Guides > Show Baseline Grid
• Select all body text, then click the “Align to Baseline Grid” in the Paragraph panel

11. Replacing the placeholder body text by your article content:

12. Adjusting Alignment
• Open the Paragraph Style Option panel, and select the Indent and Spacing:

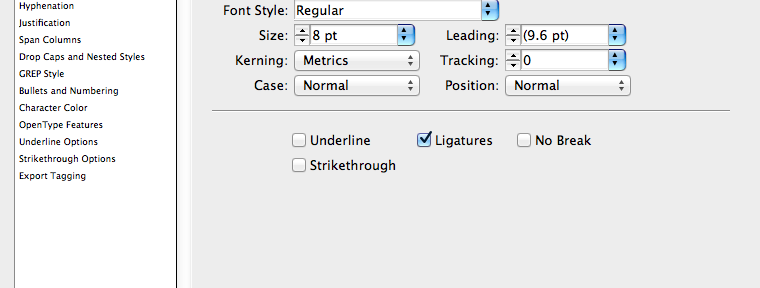
13. Setting up Hyphenation:
Double click the Body Copy Paragraph Style in the Paragraph Style panel,
then select Hyphenation:

14. Setting up Justification:

15. Setting up the Text Colors:

16. Spanning Columns for Heading

17. Conclusion: We created a simple, but well balanced page with good typography and use of white space. We have the basic set up for consistent layouts.
